Showing posts with label DIY. Show all posts

Wednesday, November 6, 2013

keep on hand: preserved lemons


Preserved lemons are great to have around. They are very easy and inexpensive to make, but quite expensive to buy. Whenever I see them for sale a teeny jar costs $10-15.  You will feel very smug when you have homemade preserved lemons and you see those fancy expensive ones in shops. They also make an excellent last minute host gift if you keep an extra jar or two in the fridge. 


Preserved lemons add this wonderful salty, bright boost to all sorts of dishes. I like to puree them  into salad dressing and hummus, mince them and rub onto fish or stick a whole preserved lemon inside a chicken I'm roasting. They are traditionally used in North African cooking, but they are very versatile and I find they work well with all sorts of different flavours, especially feta, halloumi, mint, garlic and chilies. 

Tuesday, January 8, 2013

Sunblock in the Winter: protection from no sun at all


Ok, it's not super timely, but I want to tell you guys about the sunblock I'm using right now. I try to wear sunscreen every day, despite the constant clouds and rain around here. Right now I am using the simplest, easiest sunscreen. It is just zinc oxide powder in water. I put in in a little spray bottle. I put a couple teaspoons of zinc oxide powder per bottle and then fill it with water. You can mess around with this formula, add essential oils for scent or use rosewater as the base instead of water. Too much oil makes it clumpy though, so be careful. I rub a little drop of almond oil or rosehip oil into my skin after the sunscreen.

Zinc

This sunscreen is white and it sort of beads up on your face. If you let it dry without blending it a little, you will have strange white sunblock spots. Rub it in well, put your moisturiser over top to help it blend. It isn't the same as commercial sunscreen that goes on totally invisible. I think this is a worthwhile tradeoff for a totally safe sunblock without any toxic or irritating ingredients. It's also incredibly cheap, especially compared to the really well made, nontoxic, natural sunblocks. They are expensive. If the whiteness of the sunscreen really bothers you, you can add a little bit of a crumbled up mineral bronzer powder to take the edge off the white tone so you aren't so washed out by the sunblock.

Note: compounding pharmacies will usually sell you zinc oxide powder cheaply. If they give you a hard time, tell them you have an allergy to commercial sunblocks. It always works.


Thursday, October 18, 2012

Squirrel life: foraging acorns for dinner

I didn't know you could eat acorns until I read it in The Urban Homestead. They are edible but they need to be processed because they contain too much tannin to be eaten otherwise. They can make you quite sick in their unprocessed state, but they are so bitter from the tannins that you aren't likely to eat enough to be a problem.


Once I knew they were food, I was sort of floored looking around at all the acorns sitting around, crunching underfoot, going to waste. My environment seemed more productive, more fertile, more useful. I started to forage through the city for acorns when I was looking for apples and blackberries. I thought I would share the preparation method with you; I will post some recipes using the acorns in the next couple weeks. This a nice fall activity especially if you can rope in a few friends to help you work; have an acorn shucking bee.

Monday, August 20, 2012

Pineapple Reborn (Hopefully)

I have become obsessed with plants that can be grown from the remnants and scraps of groceries. I have planted several celery stumps and they are all growing well. I have stuck a few other bits and pieces into the ground with varying results, carrots, bok choy, onions. I am not too worried about whether or not they grow into new plants since I already ate the vegetables, but if I can manage to get another plant out of their remains, that is a bonus.


One of these projects which is a little less practical perhaps, but maybe more exciting, is my new pineapple plant. I twisted the top off a regular, store bought pineapple and peeled off about an inch or two of the bottom leaves. The pineapple roots are already growing, waiting for you to discover them. I had no idea that pineapples had roots lurking under their leaves.

I stuck the roots in a jar of water for a few days and then I potted my pineapple plant in a pot. It is living on my balcony at the moment, but in the winter I will take it inside to the sunroom. Pineapples grown this way take a year or two to produce fruit, and sometimes never produce fruit, so this project is more of a novelty than a serious food production endeavor. 

It was so easy and fun though, I think that I will start a couple more pineapples so that hopefully at least one of them might grow fruit eventually.

Tuesday, July 10, 2012

Celery Reborn


I read recently that you can regrow celery from the bottom of a bunch of celery. I love any way I can grow food inexpensively or for free. I also read that you can keep doing this over and over, possibly indefinitely. This may be the best thing I have ever heard. Celery is now infinite. Maybe.

I cut the base off the last bunch of celery I bought and set it into a saucer of water, cut side up, for a couple days. I looked into the center of the tightly coiled celery stalks and there was a few small, pale leaves coiled up, new celery already underway. After a couple days sitting in water, these leaves started to grow above the cut stalks.


Then I stuck the celery into one of my pots on our balcony. The leaves are growing more quickly, they seem to enjoy this little burst of heat we are having. I cut this celery base about a week ago and it has been in the soil for maybe four days. It hasn't got any root growth that I can see on the bottom, but it's new leaves look really healthy.

When it gets a few new stalks growing up a bit, I am going to plant it in my front yard garden bed and burry the older, dead parts so just the new growth is showing.

Tuesday, May 22, 2012

Homemade Shaving Cream

My friend C came over to help me make shaving cream. It's nice to do these projects with a friend,  have a cup of tea, listen to music and talk while you work. It makes it feel like a knitting bee or a shucking bee (did people used to shuck things in bees? Probably) or a barn raising. Having company takes the work out of work, and it gave me a break when my arm got tired of grating soap. Also, C is responsible for some of the most charming (and slightly terrifying) artwork going and she made several adorable labels for the shaving cream we made together.


Tuesday, April 17, 2012

Dry Shampoo


I use this all the time. It is great for mornings when I can't manage to get out of bed and into the shower, when I have to go to an appointment right after I go to the gym or when I get called into work unexpectedly. I was most grateful for dry shampoo when I stopped shampooing my hair. Dry shampoo is a lifesaver in the icky inbetween time when the baking soda and vinegar doesn't seem to be working yet. For a couple weeks my hair never really felt clean and using dry shampoo really helped me stick to the no shampoo method instead of just giving up.

The proportions of ingredients are not exact, I more or less make it up as I go along each time. In a pinch I just use cornstarch, which make a perfectly good dry shampoo all by itself. Since it's white, it takes a little more brushing to make it blend well with my hair. This recipe is the dry shampoo I use most often, cocoa and red clay make the powder blend in better with brown hair. If you have red hair you could use less cocoa and more red clay, if you're blond you may not use either, or add a teeny tiny bit of either to just take the stark whiteness out of the powder. Just experiment until the colour works for you. It doesn't actually need to match your hair colour.

Tuesday, February 28, 2012

(Not Quite) Spring Garden


Despite the fact that it snowed on Sunday, despite the fact that it's so windy and cold right now that I just walked home clutching my hat so it didn't blow away the windows are rattling in their frames, despite the fact that our birdbath is frozen over every morning when I get up, I am already so so excited about gardening. I have started a lot of seedlings in the sunroom, which is a nice cozy thing to have; it's soothing to see the little shoots growing and reminding me each day that spring is coming. But even more than the seedlings, I am excited about what my garden has done on its own, unsupervised. Things I left untended, things I forgot about, things I never knew about, are coming to life. 

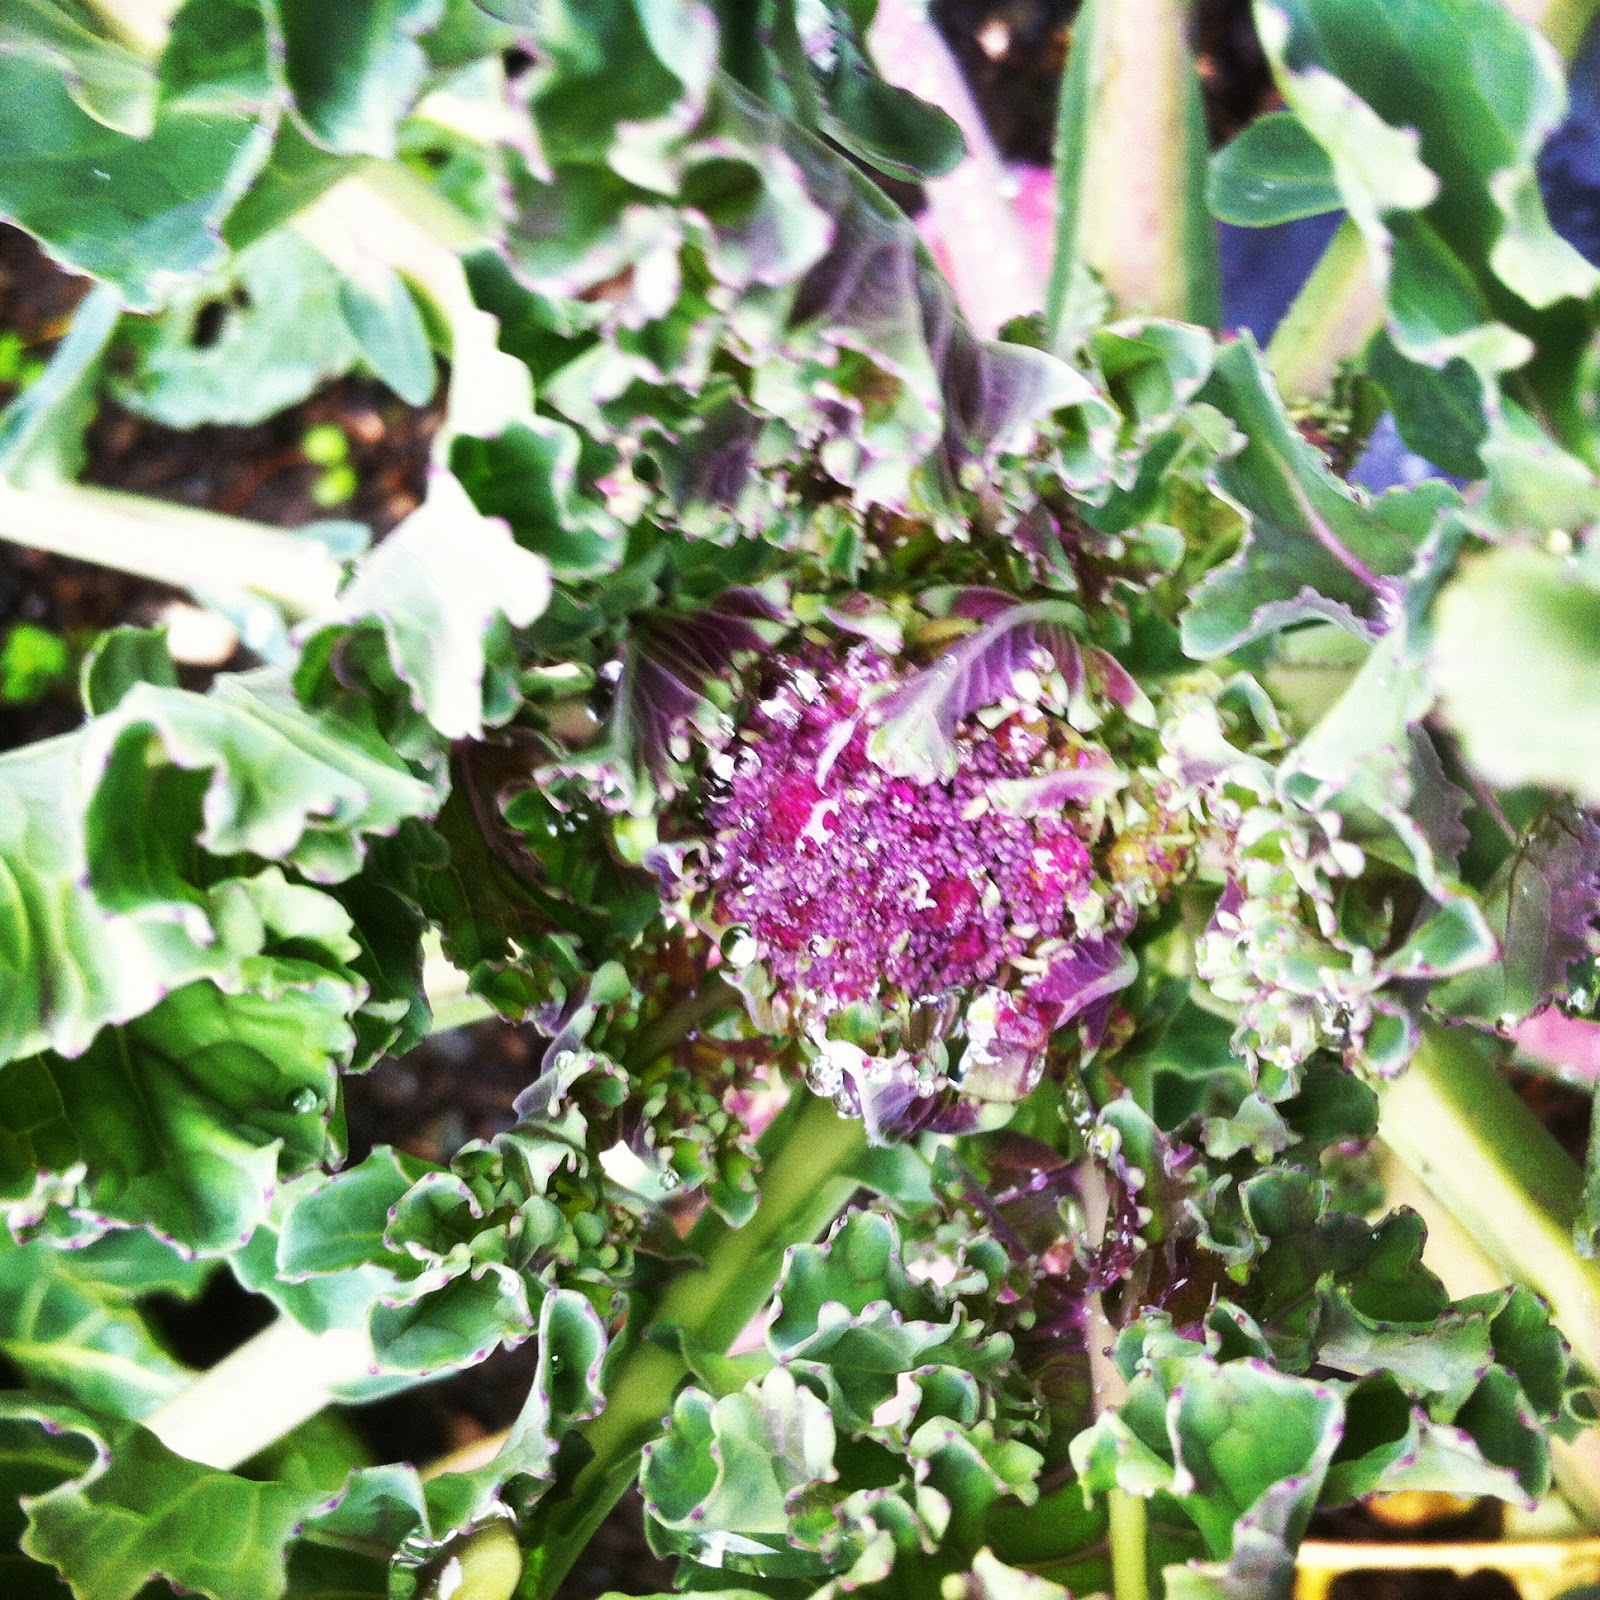
I was thrilled to discover that one of my purple sprouting broccoli plants is sprouting some purple brocoli. I went into the garden to pick some kale and there it was-a tiny, tightly coiled little mass  of broccoli flowers at the top, and another, tinier one at each branch all the way down. I hadn't forgotten it exactly; I vaguely remembered planting broccoli there, but it was still such a nice little surprise. 


I really enjoyed seeing the first signs of rhubarb coming back to life, tight pink skin stretched over the packed leaves. The whole thing reminded me of a brain when I first saw it. When I poked around I saw that it has a few new crowns around it. I planted it last year and harvested a little rhubarb, but I'm hoping this year will have a more substantial harvest. 

Monday, January 30, 2012

No Shampoo Success At Last

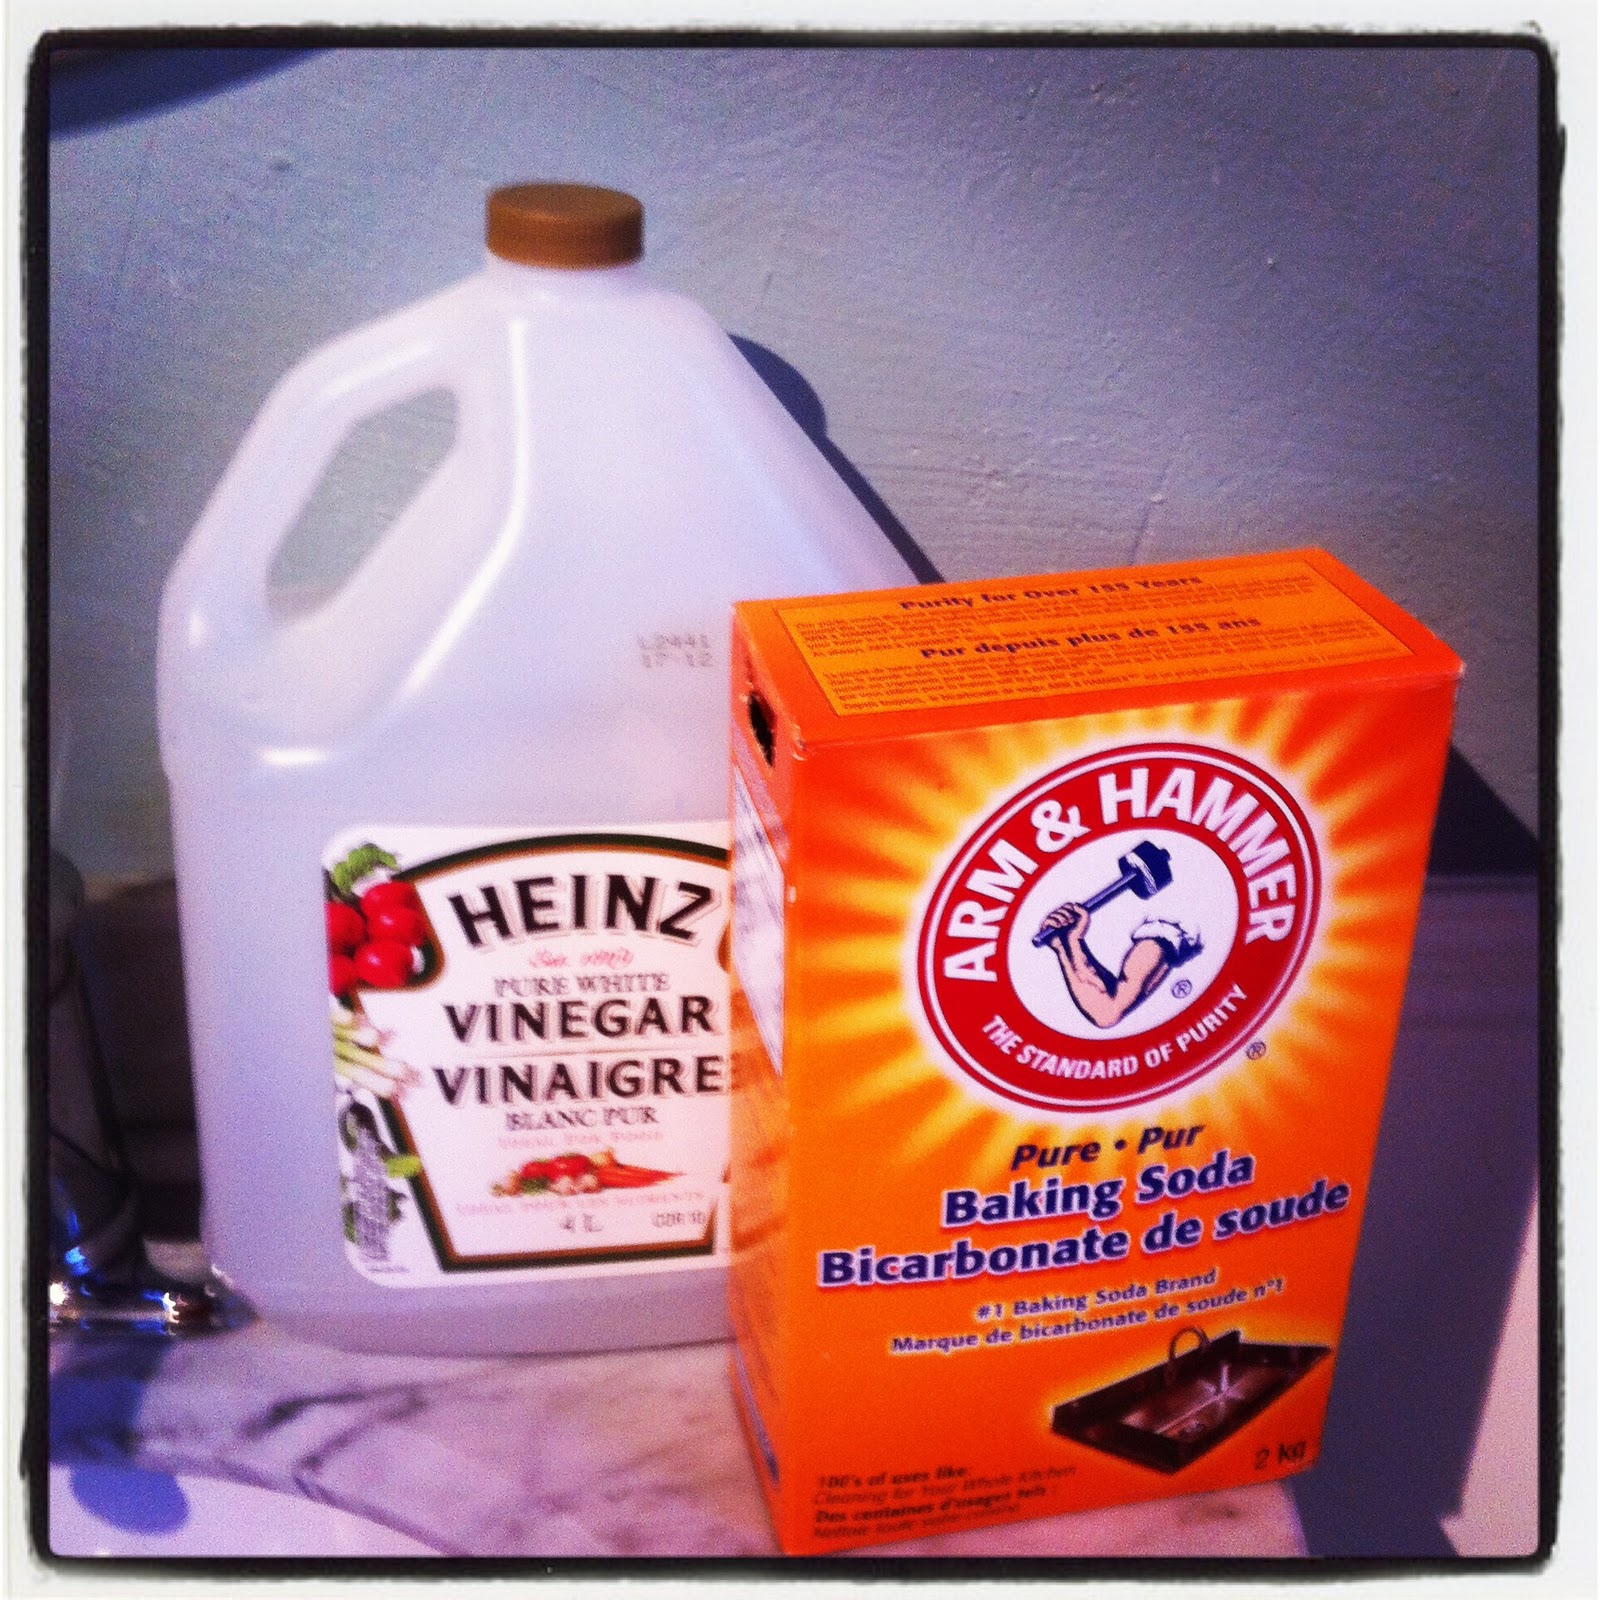
I have tried several times to implement the popular no shampoo technique without success. I found ordinary shampoo too drying and I had a hard time finding a shampoo that I thought was safe and non-toxic enough. For a long time I was using an organic shampoo diluted with an equal amount of water. That was less expensive and drying than using undiluted shampoo. I tried washing my hair with Dr. Bronners soap, which I love generally and I know lots of people like to use it for shampoo. It always left my hair feeling filmy and somehow greasier.  I tried the baking soda and vinegar no-shampoo method a few times, but I always broke after a few days when my hair never seemed to get clean and went back to shampoo. This is the gross first phase, when your scalp keeps on producing as much oil as when the detergent shampoo was stripping it away. This phase is the major no shampoo stumbling block. It has foiled some of my friends and it bested me more than once.

I finally cracked it though. It takes determination to get through the first phase, and it takes dry shampoo. I had been using dry shampoo way before I decided to cut out shampoo entirely, but at first I didn't think to use it to fix the gross early no shampoo phase. Dry shampoo is the answer. It makes up some of the difference between shampoo-clean and no-shampoo-clean while you and your scalp adjust.

The no shampoo things can take a few tries to get right and that it works differently for different people. Some don't like to use the vinegar wash, others just use vinegar apparently. And, the no-shampoo-holy-grail: some people use nothing but water. Do some experiments, see what you like. If nothing else, you can use hair powder to extend the life of shampooed hair. This process was really gradual for me.

Monday, January 23, 2012

Rich Cocoa Butter Cream

Cocoa Butter Cream

My skin has decided this week to freak out about winter. It's practically the end of January and my skin apparently only just noticed. Maybe it was the big snow (well big for Victoria) we had last week, but now my skin is all dry and thirsty. It reminded me that I had been meaning to make some cocoa butter cream for ages. It's really rich and moisturizing-it's the moisturizer equivalent of hot tea on a snowy day. It smells wonderful, light and cocoa-butter-beeswax-y. It'll fix you right up. It is oily and greasy though, which is something that you might not be used if you normally buy comercial skin creams. It took me a really long time to think it was a good idea to put oil on my skin after reading that it causes acne when I was younger. I am converted now though. 
Bees Wax
I love working with bees wax; it smells so good it makes me a little giddy. I usually buy it in large blocks and shave it with a vegetable peeler. You can buy it in little pellets that are easier to work with as well.

Coco Butter

I use almond oil in my cream, it is light and has very little scent. You can use any mild oil you like,  olive oil makes very nice cream as well. Use light olive oil, not strong flavoured, darker, fruity olive oils. Their smell is really overpowering and drowns the mild sweet cocoa butter-bees wax smell. You can use rosewater or a hydrosol in place of the water and you can add essential oils if you like. This recipe is just a guideline; you can trick your cream out any way you like. 

Tuesday, November 3, 2009

Body Scrubs


A body scrub is the fastest, cheapest and easiest cosmetic that you can make yourself: no heat is required and it uses stuff you already have. 

The scrub I make the most often is a combination of  sugar and oil: brown sugar, white sugar, or both; mixed with almond, olive, sesame, grapeseed, or any base oil you like.  You want just enough oil to generously coat the sugar without leaving the sugar sitting in a pool of oil. The sugar should clump without any dry spots in it. The sugar and oil scrub works best on dry skin; use it in the shower before you turn the water on. If you use it while your skin is wet it will dissolve pretty quickly. If you want a scrub that you can use on wet skin, ground coffee can be substituted for sugar. This is nice in the morning because it wakes you up but doesn't make you smell like coffee afterwards. You can also try finely ground nut shells (such as almond), polenta, or just about any fine, grain-y stuff that won't dissolve. Any scrub you use while water is running will wash away as you use it so the exfoliation will be a little milder. 

A great, if not entirely necessary, addition to the scrub is a little essential oil. You can use one scent or a custom blend. I like citrus oils like grapefruit or lemon in my scrubs, or lavender. Be careful with essential oils especially if you are trying a new one. They are strong and they can cause allergic reactions.  Don't apply undiluted oils to your skin: always mix them with a base oil. 


Whatever oils and grit you use the scrubs work the same way. Rub the scrub all over your skin, spending extra time of dry and rough areas. The oil in the scrub will make the floor slippery so be extra careful. If you are using a sugar based scrub, it will rinse off and dissolve when you turn the shower on. Coffee and other non-dissolving scrubs can be applied to wet skin (but not directly under a blast of water) and then rinsed off. If you just rinse off without soap, a thin layer of oil will be left on the skin. The scrub is good at getting you clean off of your skin, so you probably won't need soap afterwards anyway. If going without soap freaks you out, try it once on a day when you don't feel too grimy. You might be surprised how clean and soft you feel. I think the way skin feels after this scrub is way nicer than the super dry tight-skin feeling after I use soap. 


Store your scrub in an airtight container. Make sure the lid is shut before you turn the shower on. The sugar will dissolve if gets water into it.